Our Top Tips For Your Holiday Pics!
- By Michael Harrison
- •
- 20 Jul, 2011
- •
Okay, so you have your holiday booked… Hurray!!!
Your well on your way with organising your money, toiletries and packing. Don’t forget your camera so you can get some great images to remember your trip by.
We know your not David Bailey and you may not have access to state of the art equipment, but at MC Photo, we also know this doesn’t mean you cant capture your magic memories with your handy compact!
Read on if you want to learn how to make the most of any photo opportunity!
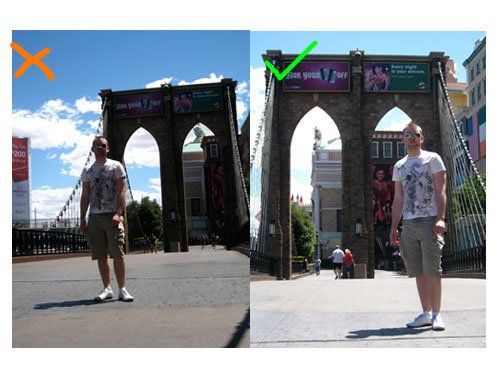
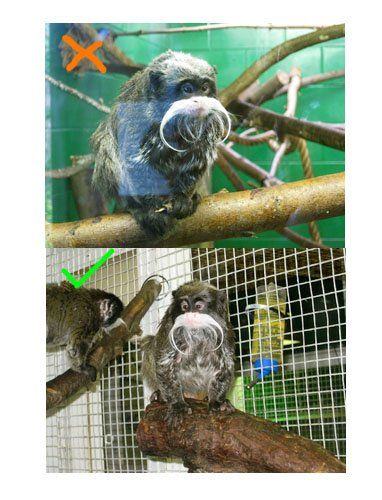
Top Tip No.1 - Always Fill The Frame
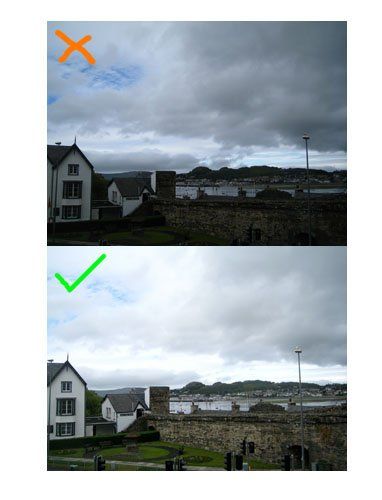
Top Tip No.2 - Level Out Your Landscapes

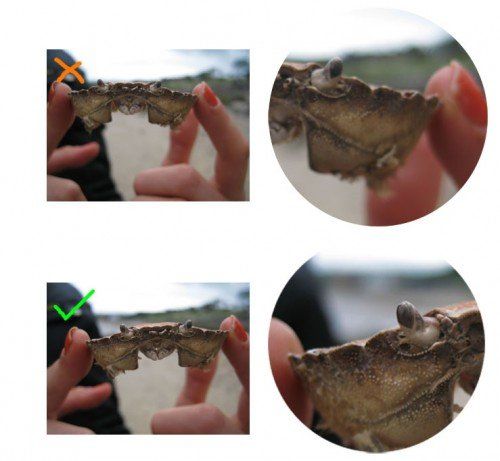
Top Tip No.3 – Use your ‘macro mode’ or MACRO
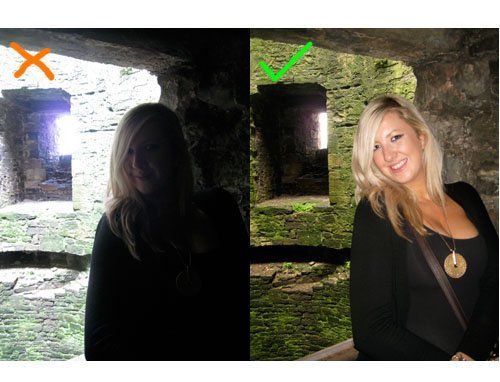
Top Tip No.4 - Use flash
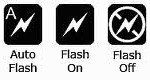
…To fill in to foreground
You want to see the foreground of your image as well as the background! Use your flash to fill in foreground to even out exposures behind on your subject matter.

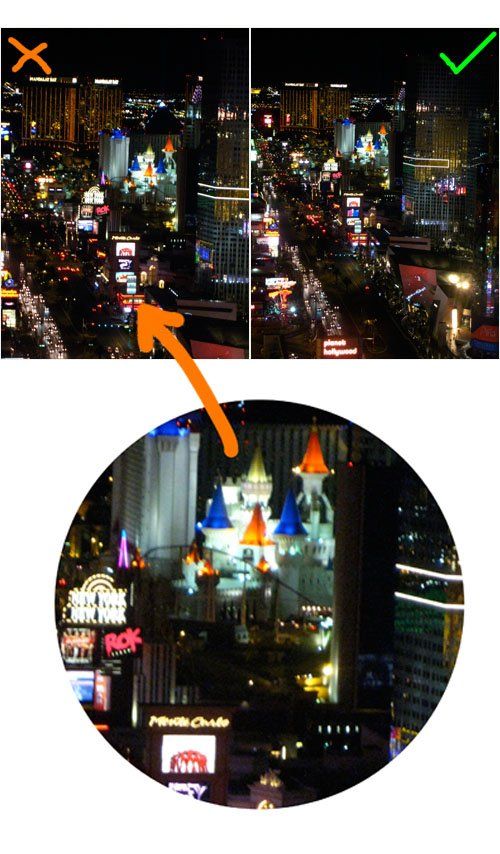
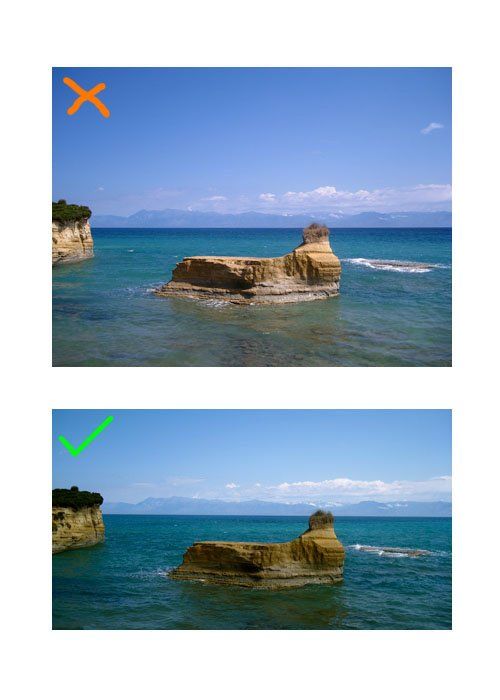
Top Tip No.5 - Be aware of your focusing point
Be in control even when using Autofocus & ensure you are focusing on your subject not the background, Autofocus adjusts the lens so that the central part of the image in the viewing screen is sharp. These symbols indicate the points that the camera will focus on in the camera menus: or etc.
Point your camera on the subject you want to be sharp, half press the shutter release button to focus, once focused. keep your finger on the half pressed button and reposition in your frame to the centre or the side of the picture. When your camera is focused most will beep or indicate this with a rectangle on the LCD Screen on the back.
Below you can see a classic example where the focus is wrongly on the background.

Top Tip No.6 - Camera Shake, don't ruin a great shot
Top Tip No.7 - Learn how to use exposure
Exposure means the brightness of your picture!
When using the automatic setting on your camera, it will generate the auto exposure from the centre of the shot, if this pointed at something bright such as sky, sea and sand, this will expose for the brightest part of the picture, making everything else dark (under exposed). To overcome this you need to perform a similar method to tip 5 (focusing) and half press the button while pointing the centre of the camera to the point that is between the brightest and darkest areas in your picture (mid tone), keep the button pressed and reframe, take your picture.
Many modern compacts now have a variety of settings – ‘P’ (Programme) AUTO or ‘M’ (Manual), opt for manual and get the best out of your images.
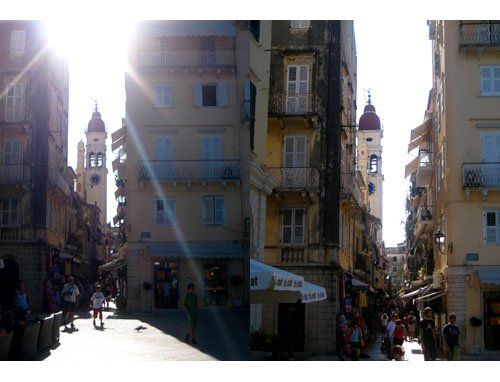
Top Tip No.8 - Learn how to use lens flare to your advantage
Top Tip No.9 - Photographing through glass
Top Tip No.10 - Crop landscapes into panoramic format
Thanks for reading our top tips, we hope you have a great summer break, feel free to send us your pics or ask us for more tips on your photos!
The time frame is very short between completion and handover so flexibility and communication is key with all parties concerned and Formm have been able to facilitate easy access and help from Formm's clients.
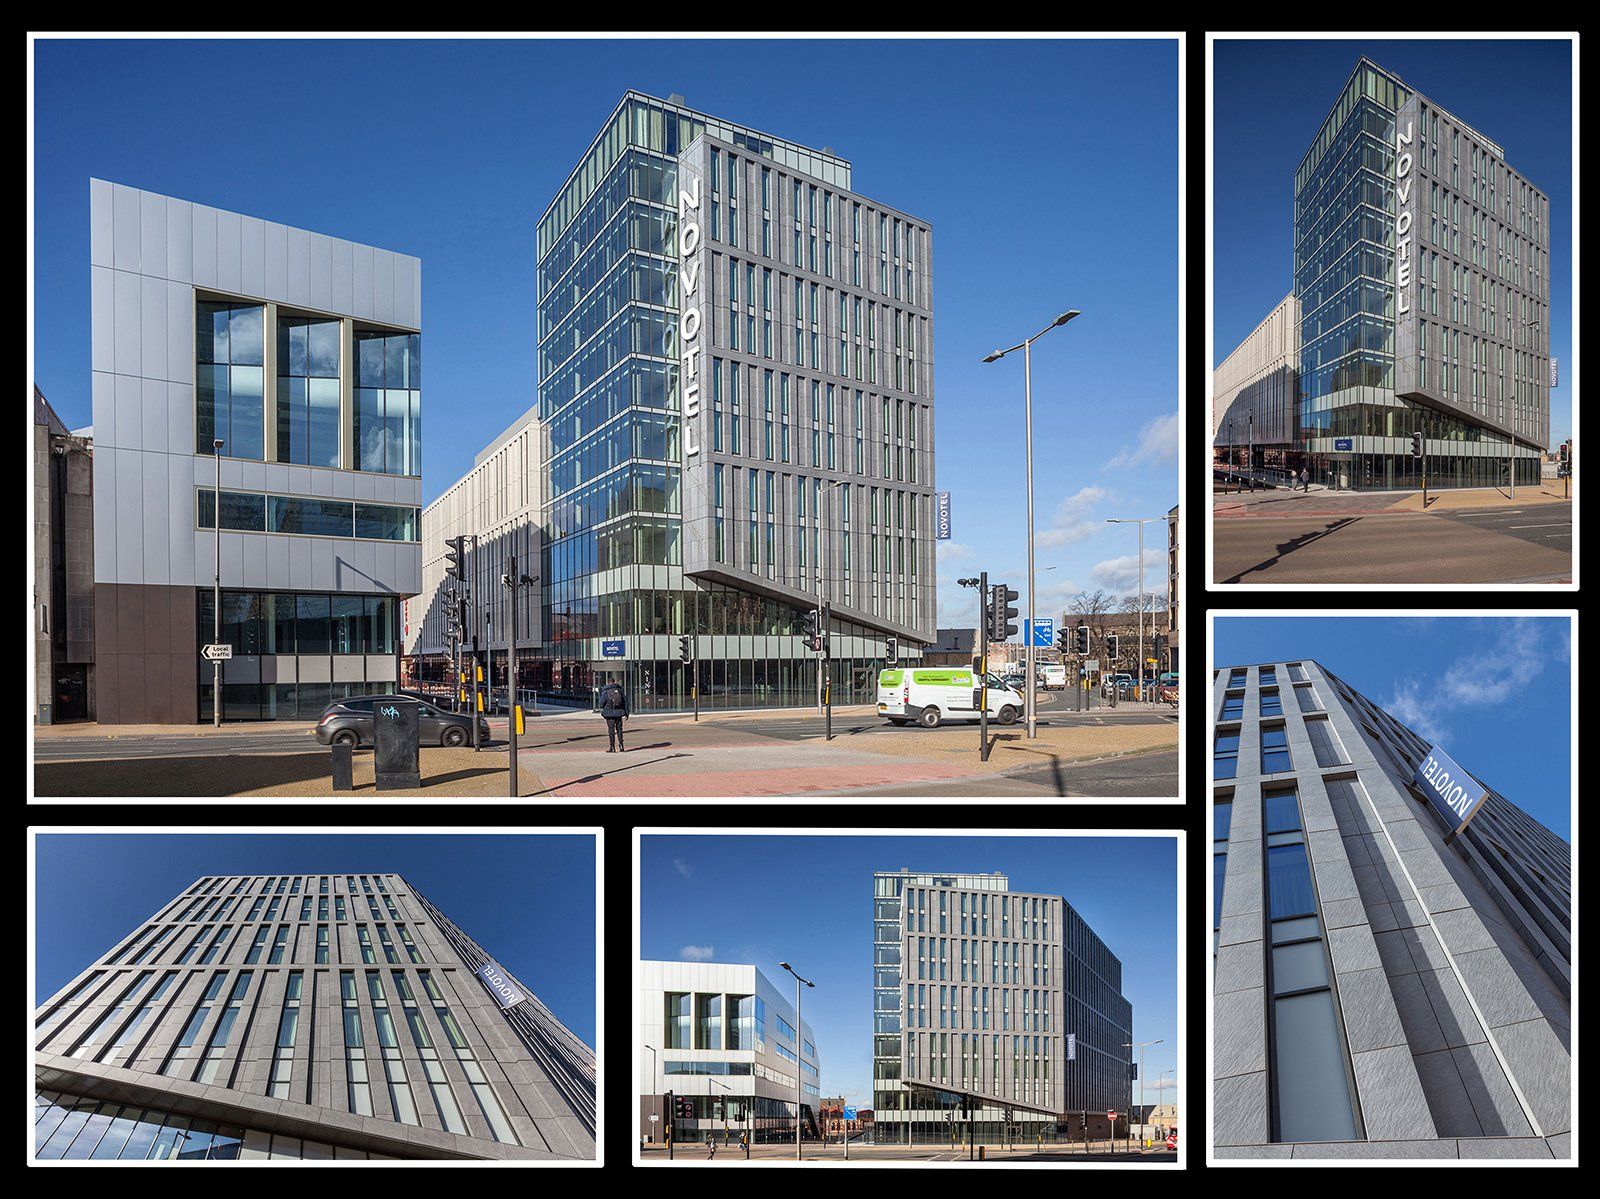


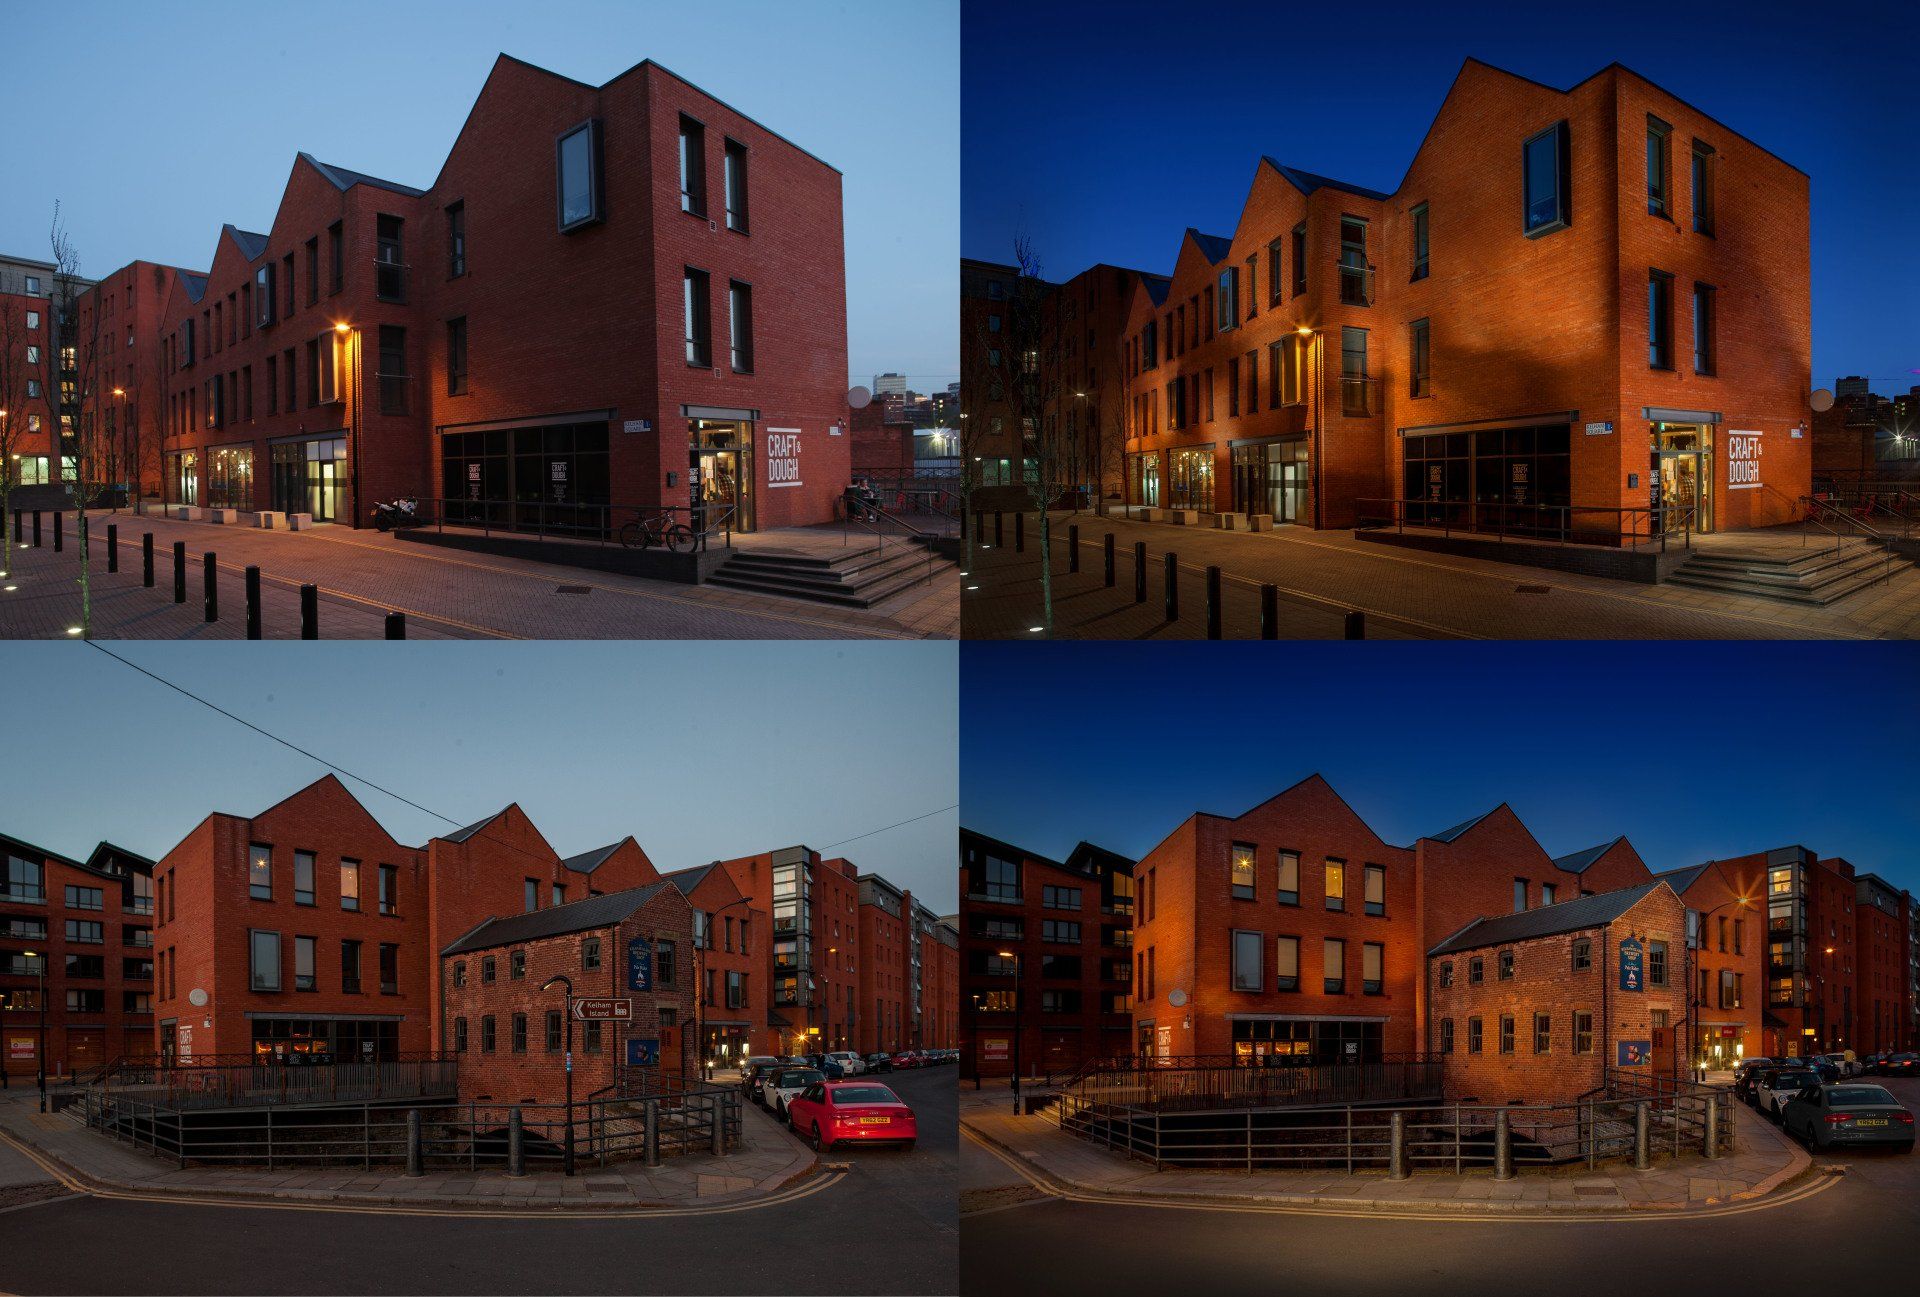
Using a combination of lighting, complex retouching and "the golden hour" we have produced some work we are extremely proud of in the past few years. The technique we use to create these images transforms cold, dull shots, into warm, vibrant images that are worthy of the technical and hard work that goes into creating these amazing spaces.
Take a look at some before and after shots!
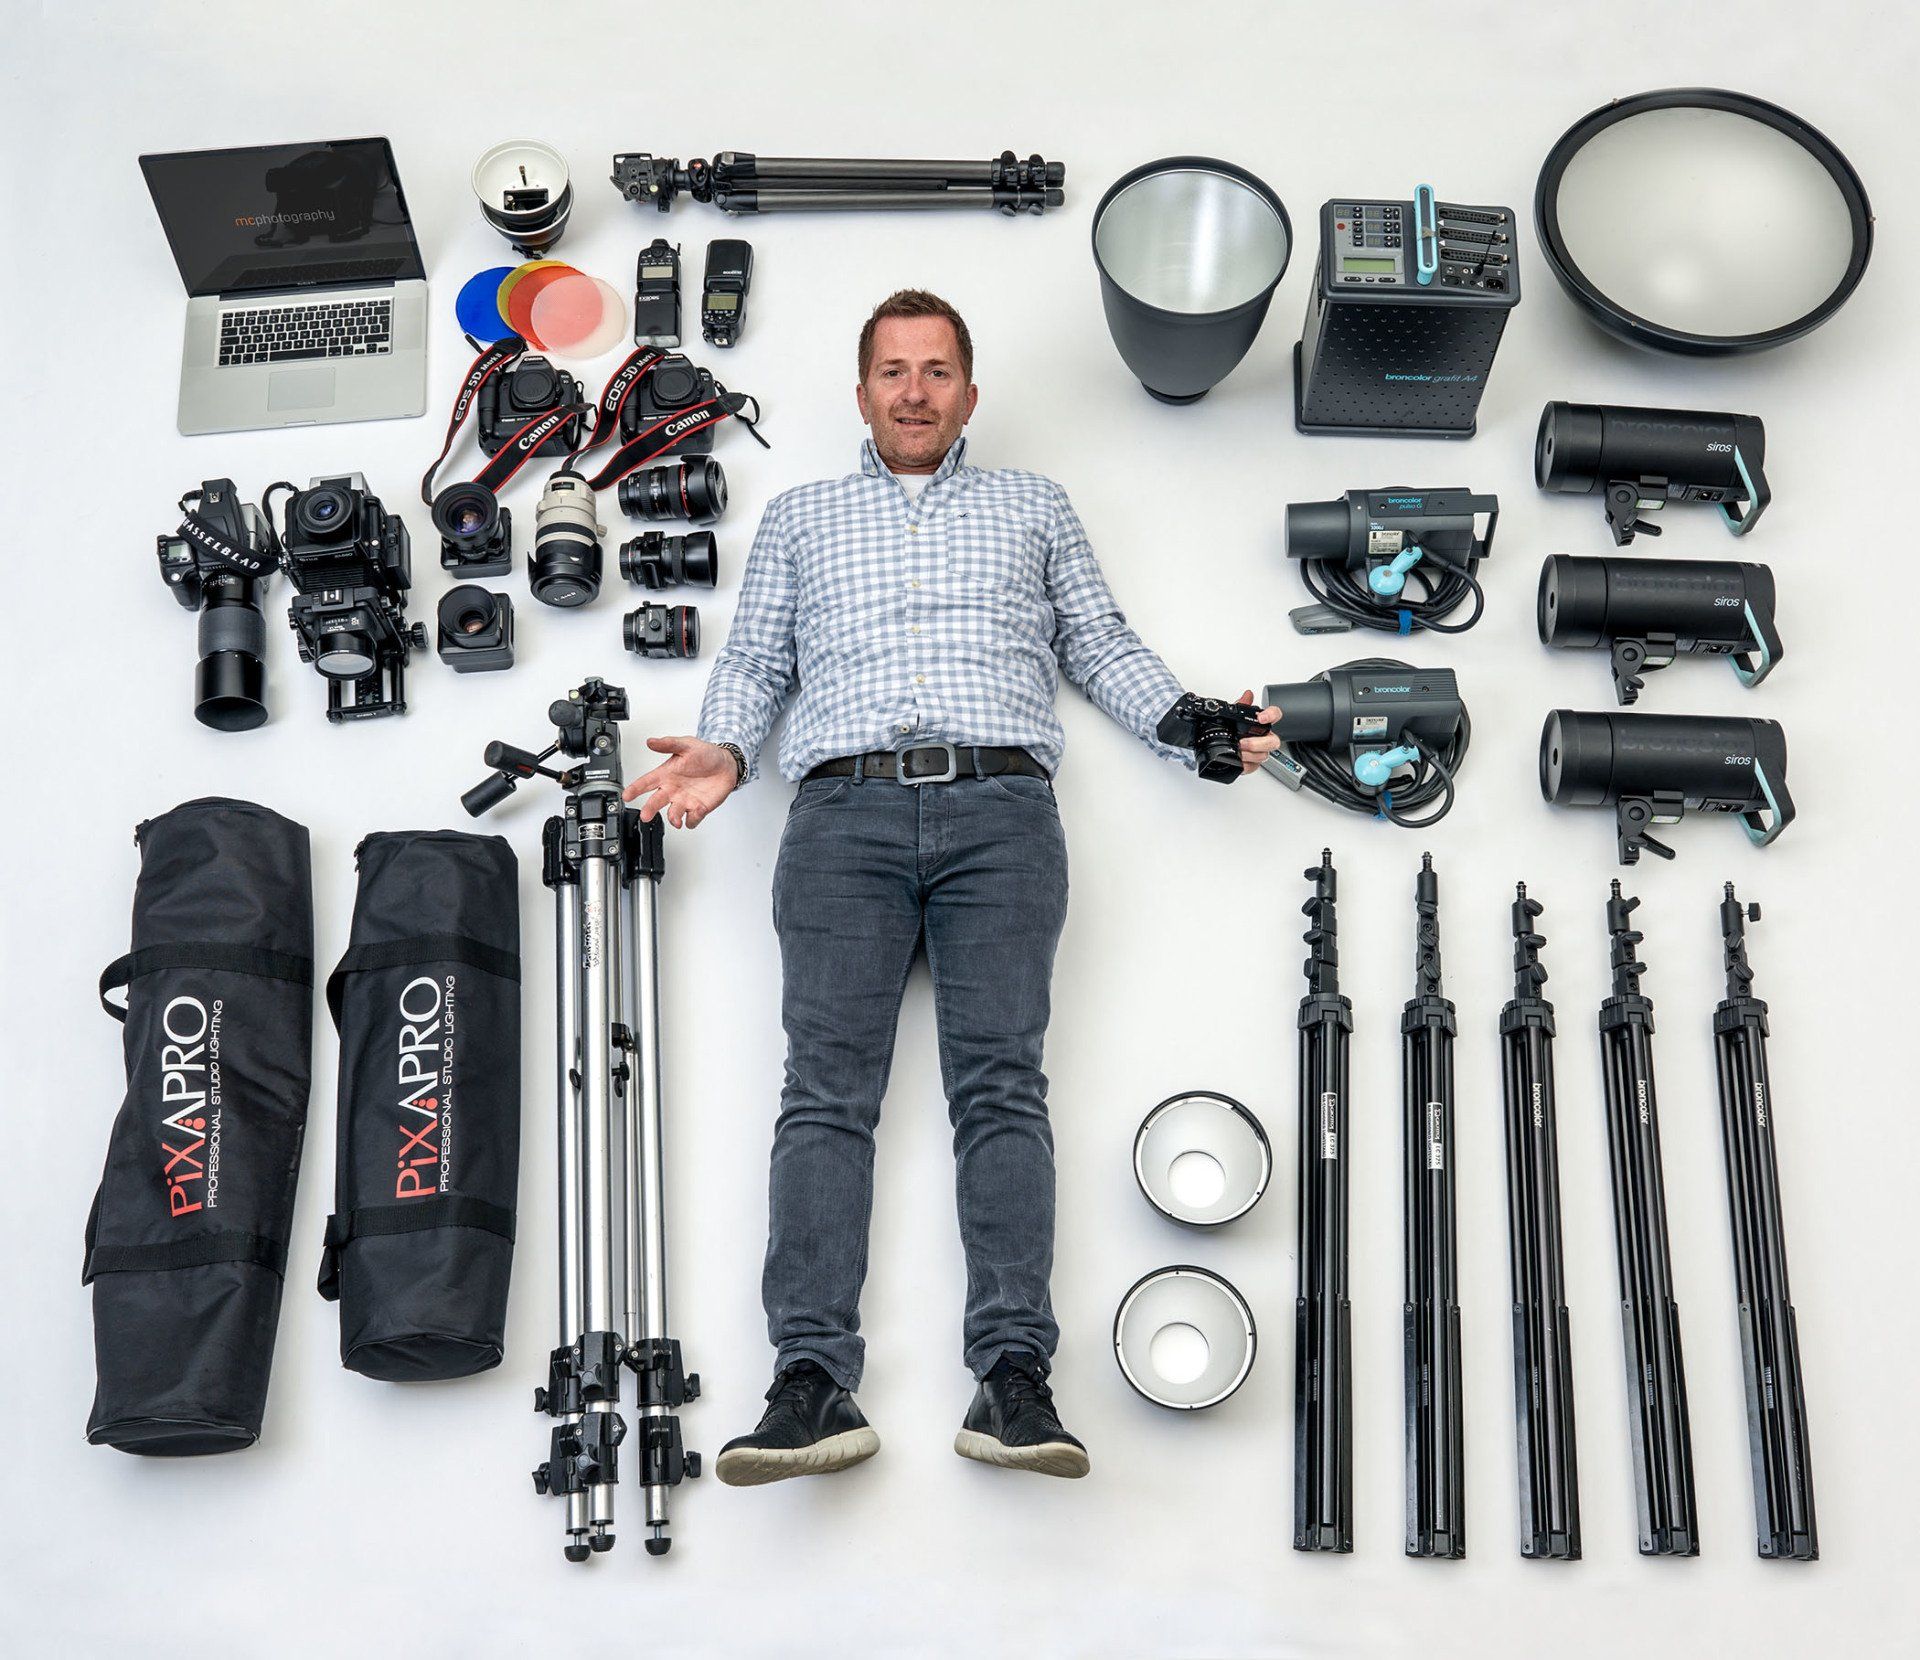
From our Imacon to Hasselblad cameras, we can bring out laptop out, shoot direct to our 17 inch Macbook Pro so you can see exactly is what were shooting!
If you're product is needing a background we also have a large variety of backgrounds, varying in colour that we can also bring out to you.
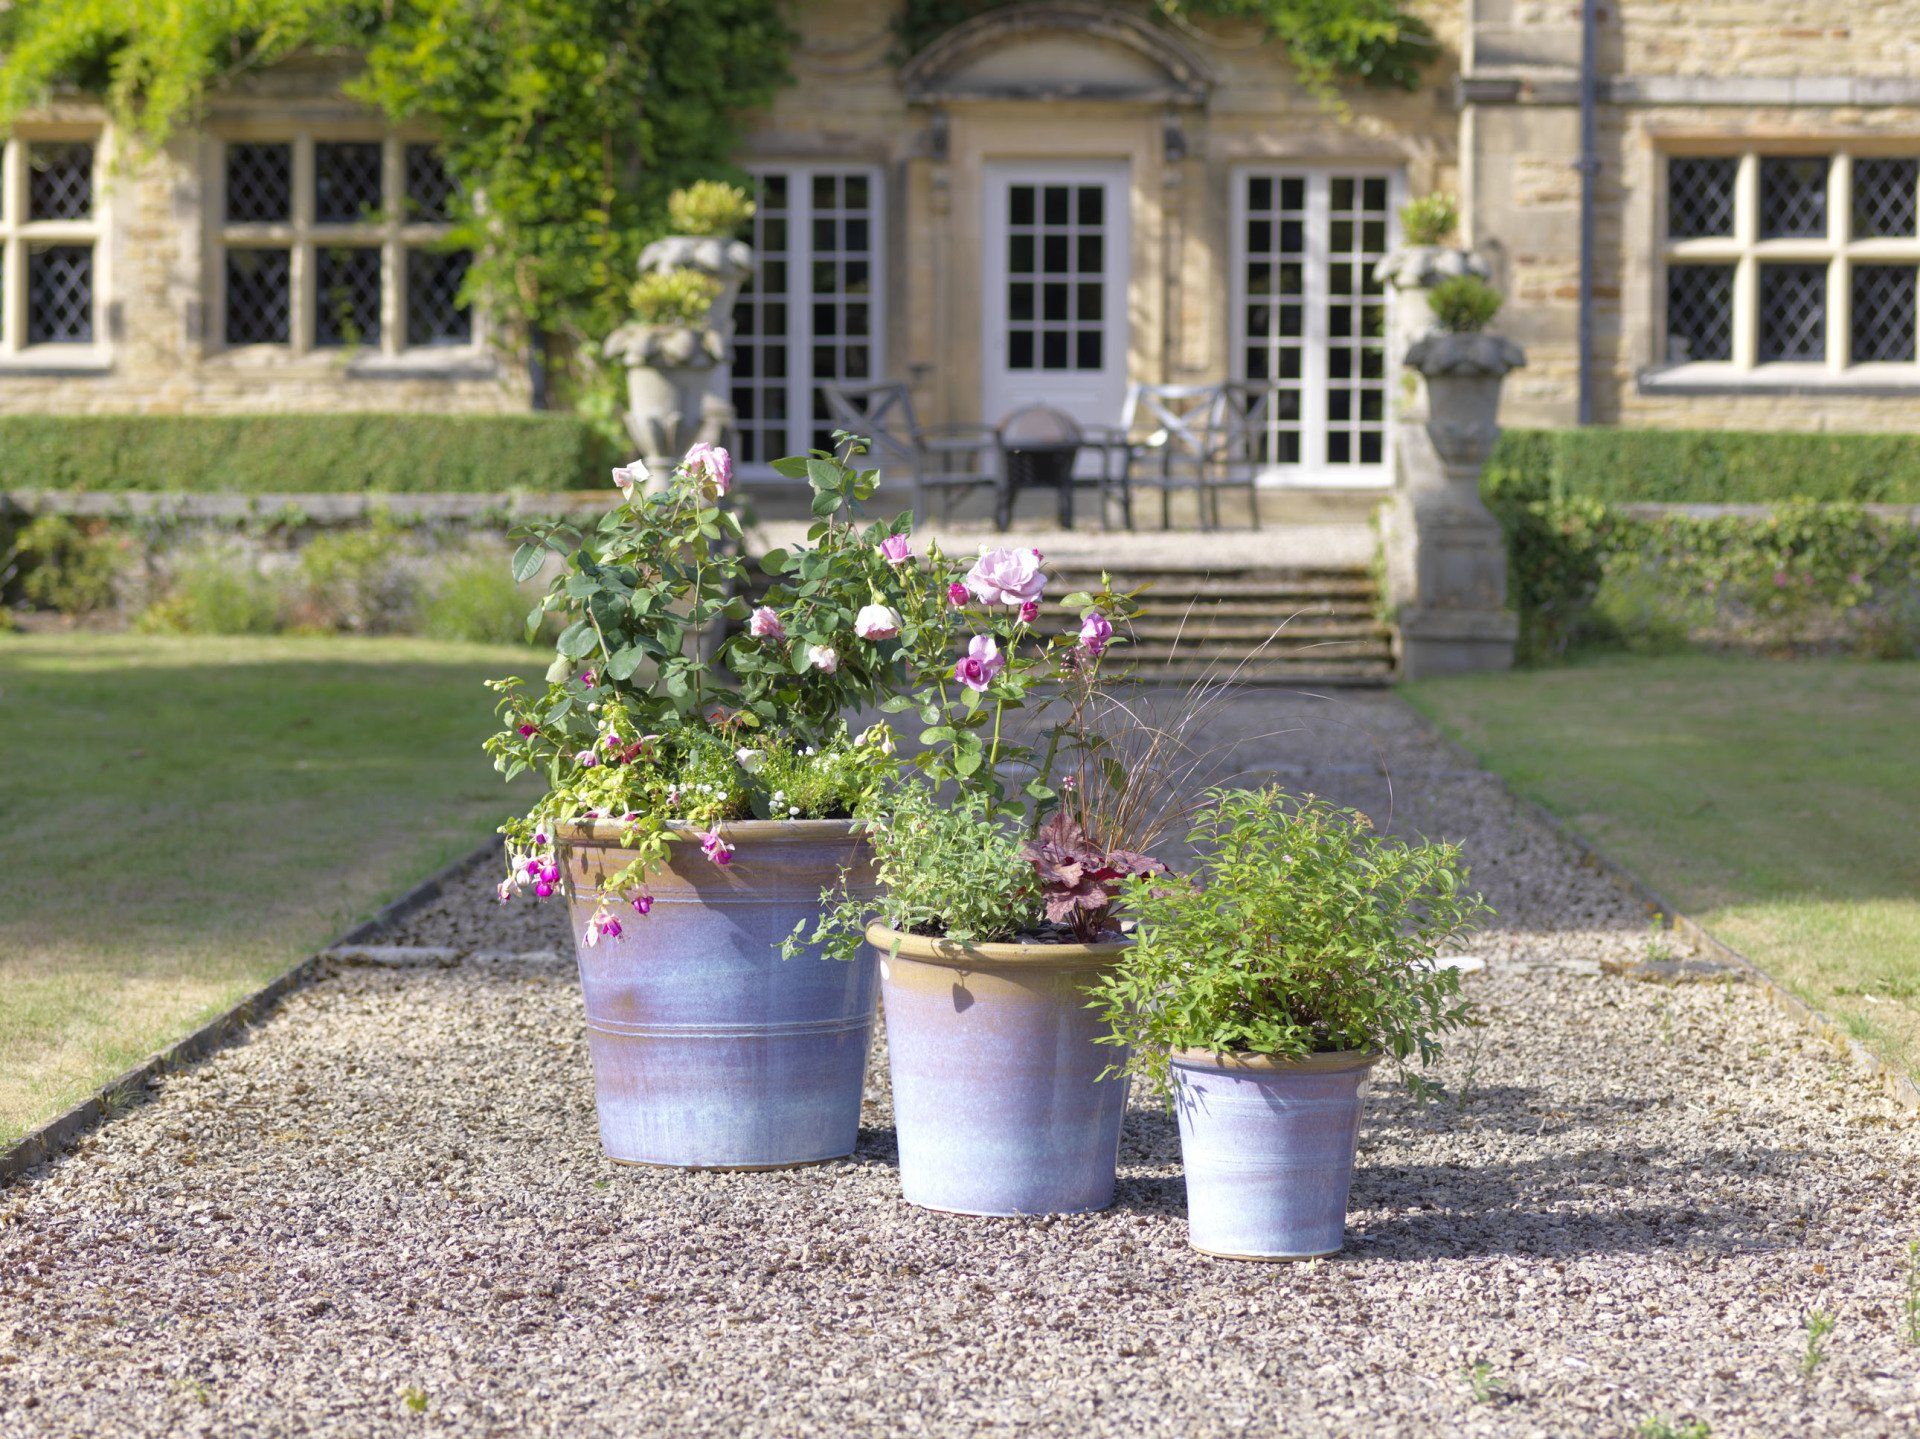
We've had some extreme weather this year in the UK with the Beast from the East battering us early on in the year, but the summer we usually dont get in the UK has been very kind to us.
With the lovely warm weather it gives us a great chance to get out into the sun and shoot!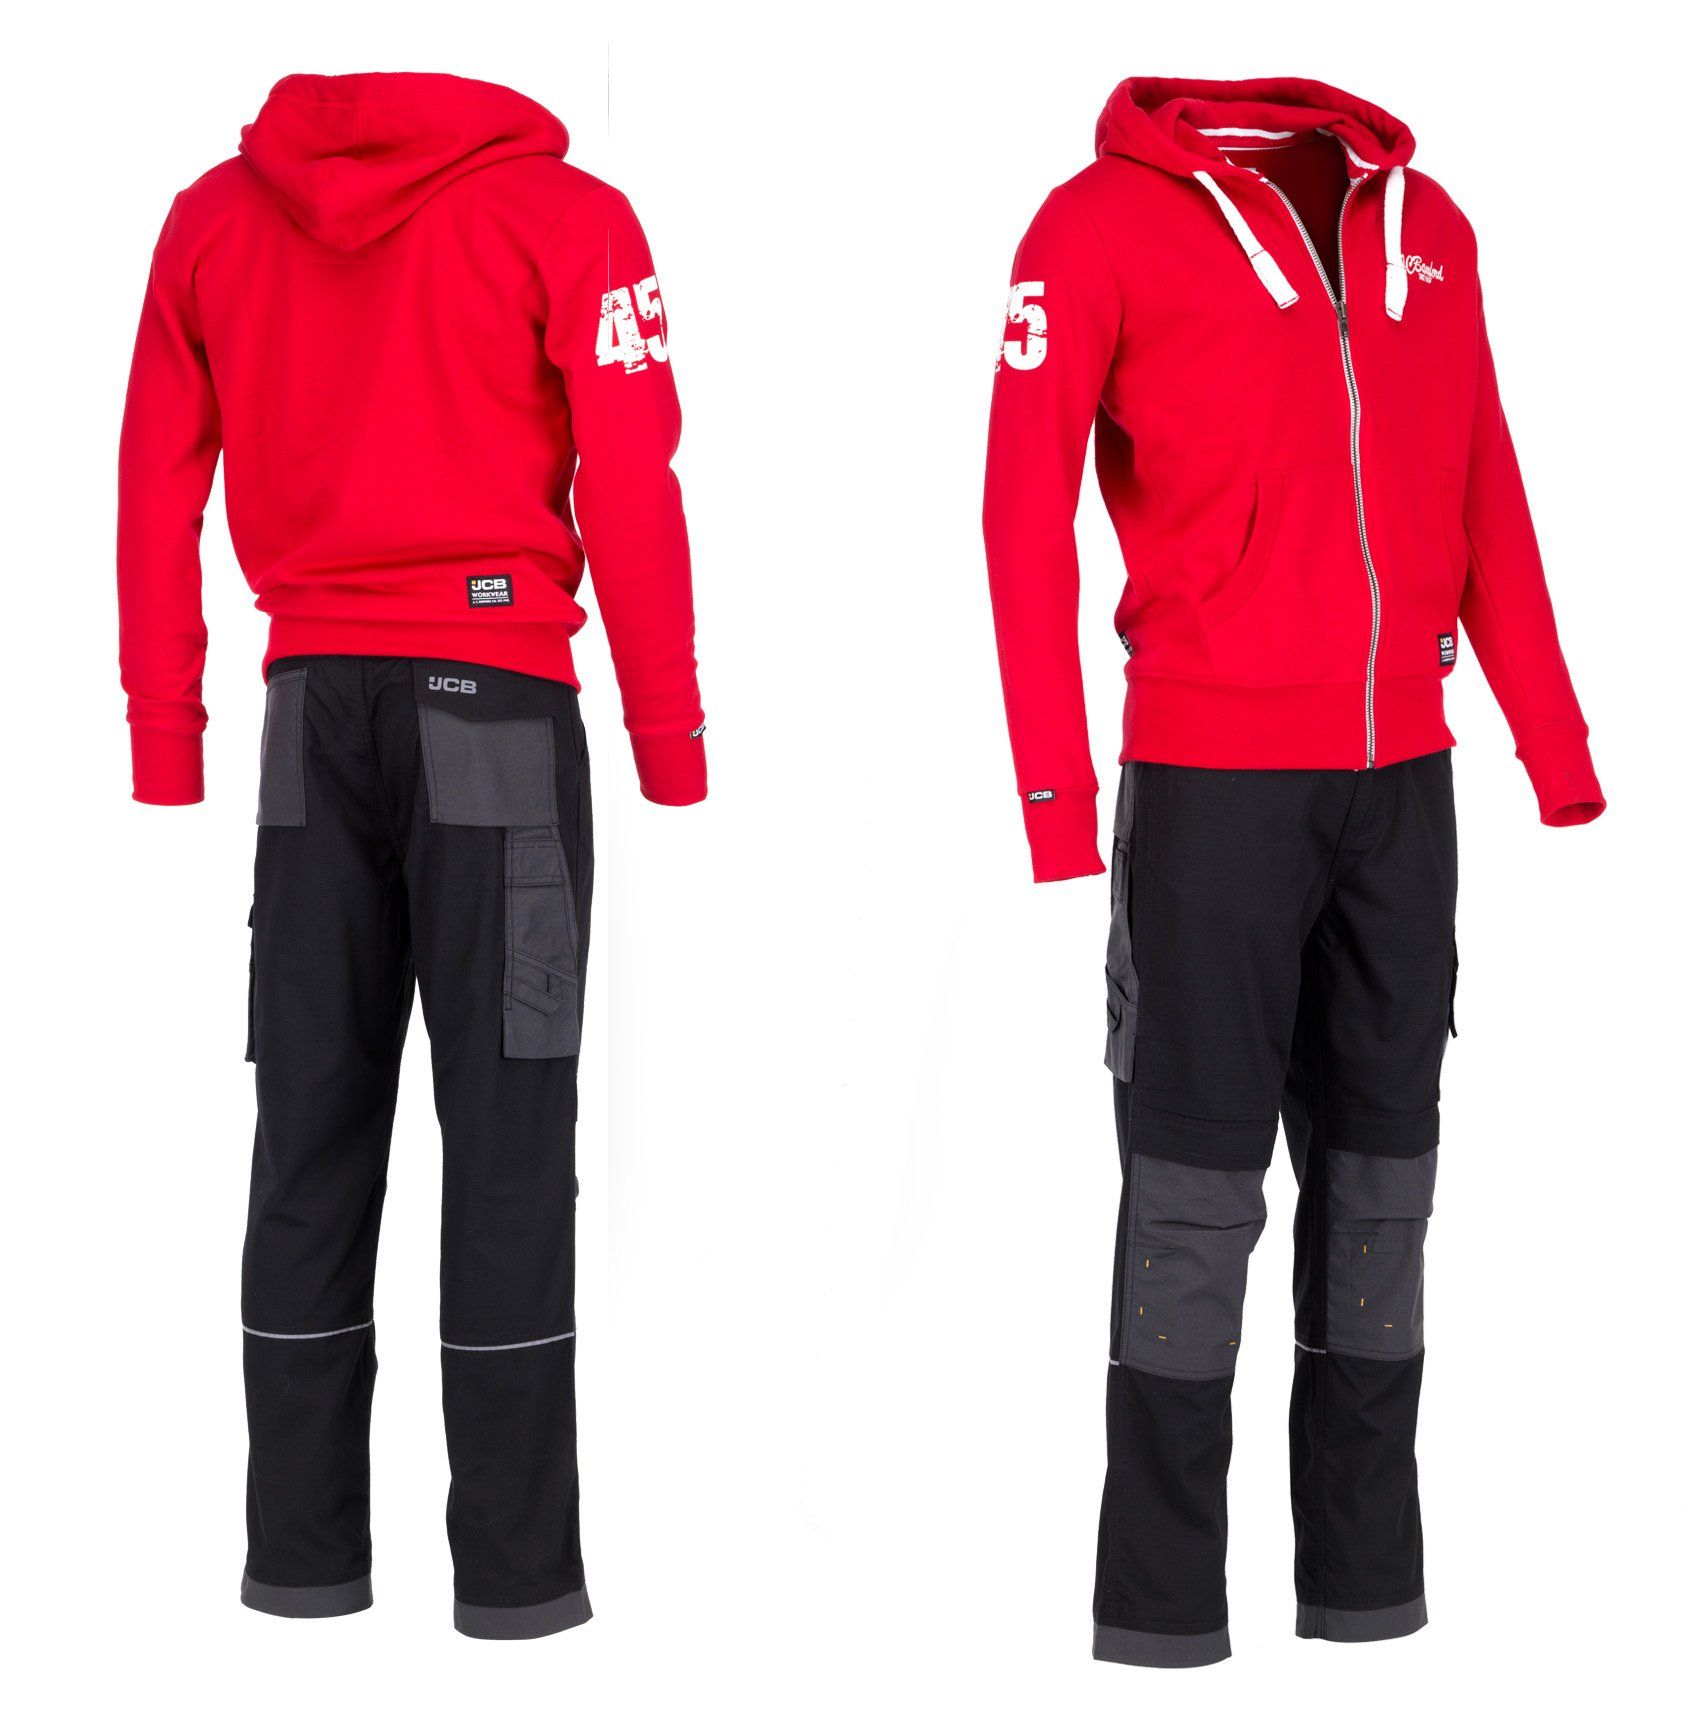
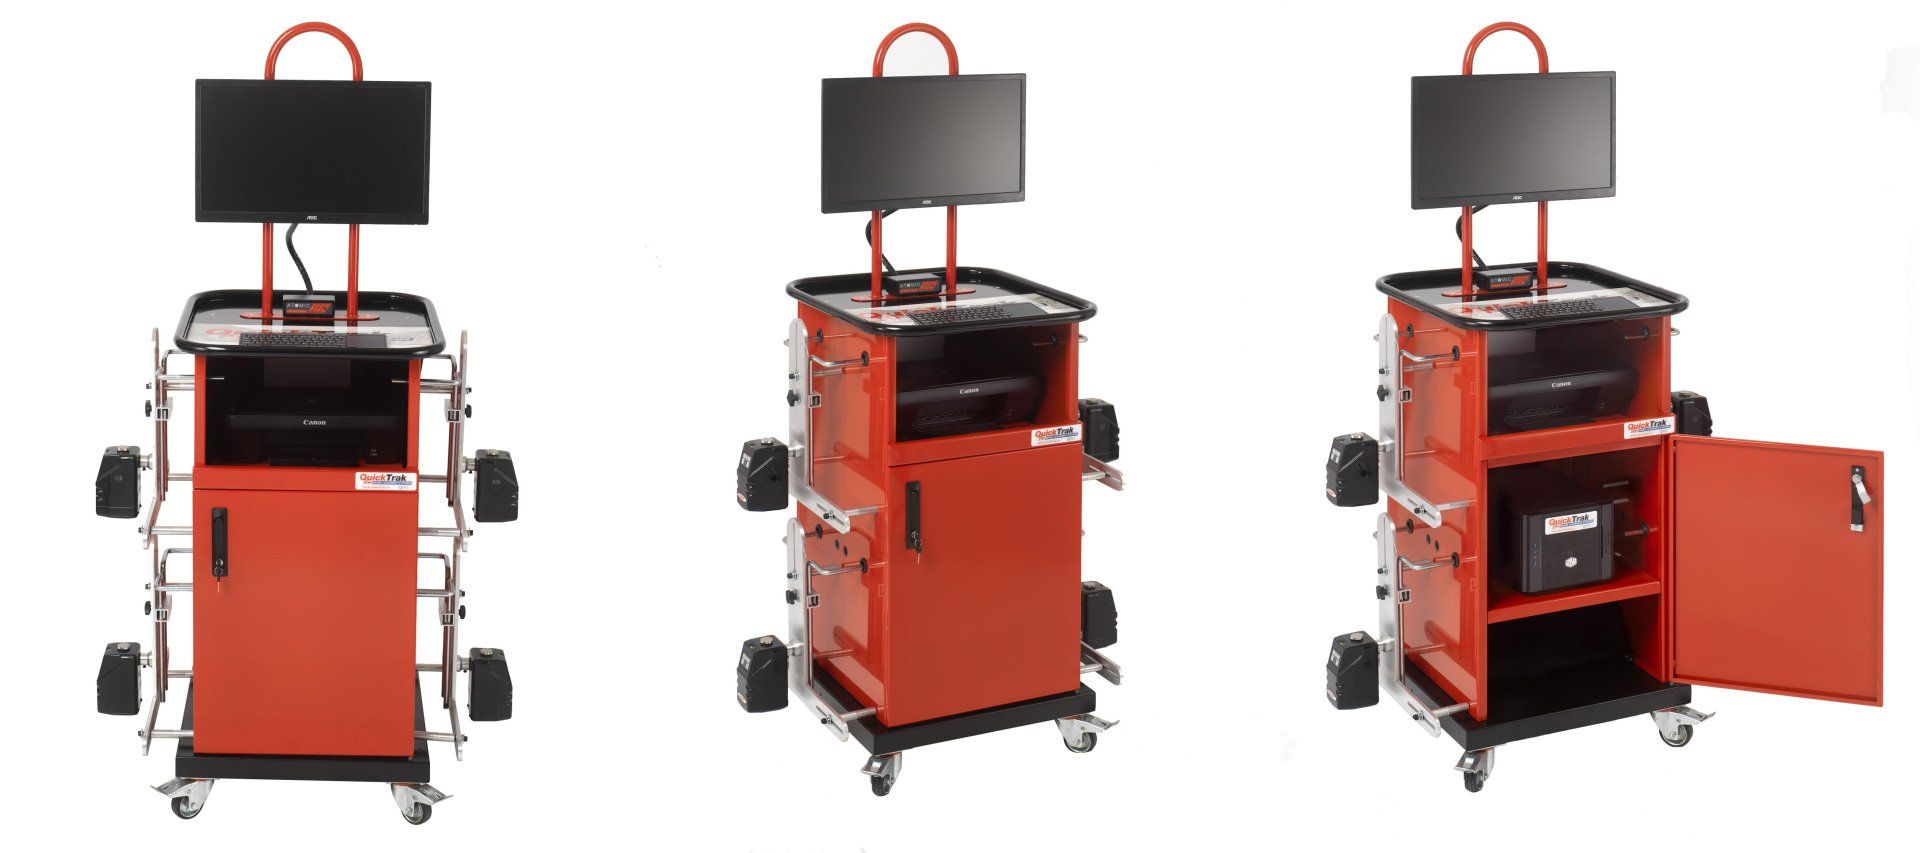
Quicktrack are a company that manufacture apparatus to wheel align anything from cars to large lorries, meaning a lot of their product is rather large.
Below is a behind-the-scenes shot showing the capacity of our studio to get this large product on a background and lit!